Why Leaky Ductwork Is Costing You More Than You Think
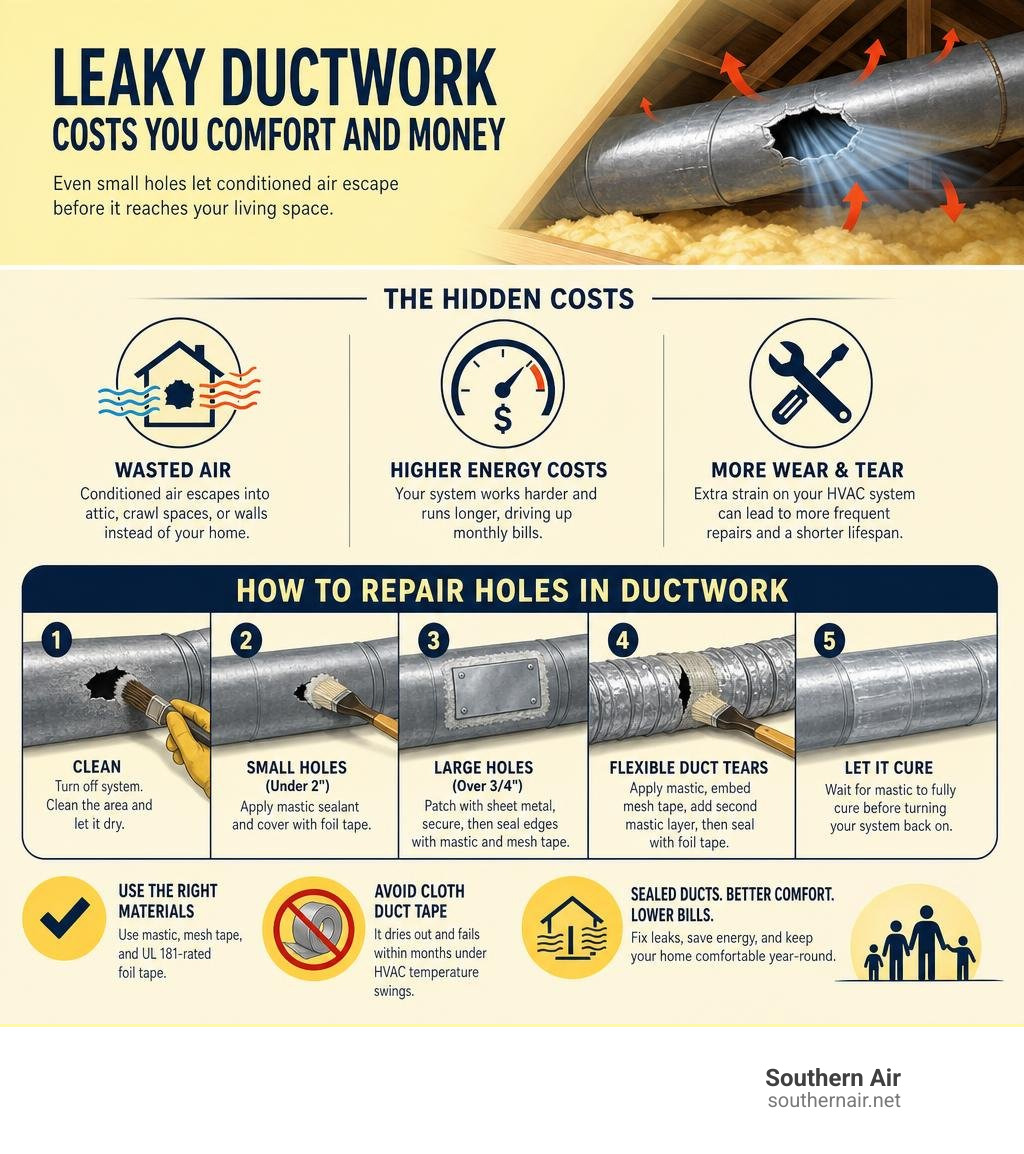
If you need to know how to repair holes in ductwork, here’s the short answer:
- Turn off your HVAC system at the thermostat and circuit breaker.
- Clean the damaged area thoroughly, scraping off dust and debris until dry.
- For small holes (under 2 inches): Apply mastic sealant, then press UL 181-rated aluminum foil tape firmly over the area with at least 1 inch of overlap on all sides.
- For larger holes (over 3/4 inch): Cut a sheet metal patch at least 2 inches larger than the hole on all sides, secure it with sheet metal screws, then seal all edges with mastic sealant and fiberglass mesh tape.
- For flexible duct tears: Apply mastic, embed fiberglass mesh tape, add a second mastic layer, then seal with UL 181 foil tape.
- Wait for the mastic to fully cure before switching the system back on.
Never use standard cloth-backed duct tape. It dries out and fails within months under HVAC temperature swings.
A hole in your ductwork might seem like a minor issue, but the numbers tell a different story. Leaky ducts can waste up to 30% of your conditioned air, sending it straight into your attic, crawl space, or walls instead of cooling your living room. In a Florida summer, that’s not just uncomfortable. It’s expensive.
The good news? Many duct repairs are straightforward enough to handle yourself with the right materials and a little know-how. Some situations, though, need a professional’s eye before they become a much bigger problem.
I’m Dustin Caison, President and CEO of Southern Air Cooling & Heating, a State Certified Air Conditioning Contractor with more than two decades of hands-on HVAC experience, including countless duct inspections and repairs across North Florida. In this guide, I’ll walk you through exactly how to repair holes in ductwork the right way, so your fix actually holds.
Quick look at how to repair holes in ductwork:
- air duct sealing
- ductwork repair
Signs and Causes of Leaky HVAC Ducts
Before you can patch a leak, you have to know it is there. Ductwork is usually hidden behind drywall, inside crawl spaces, or up in dusty attics, making visual inspections a challenge. However, your home will drop plenty of hints when your air distribution system is compromised.
Common signs of leaky ducts include:
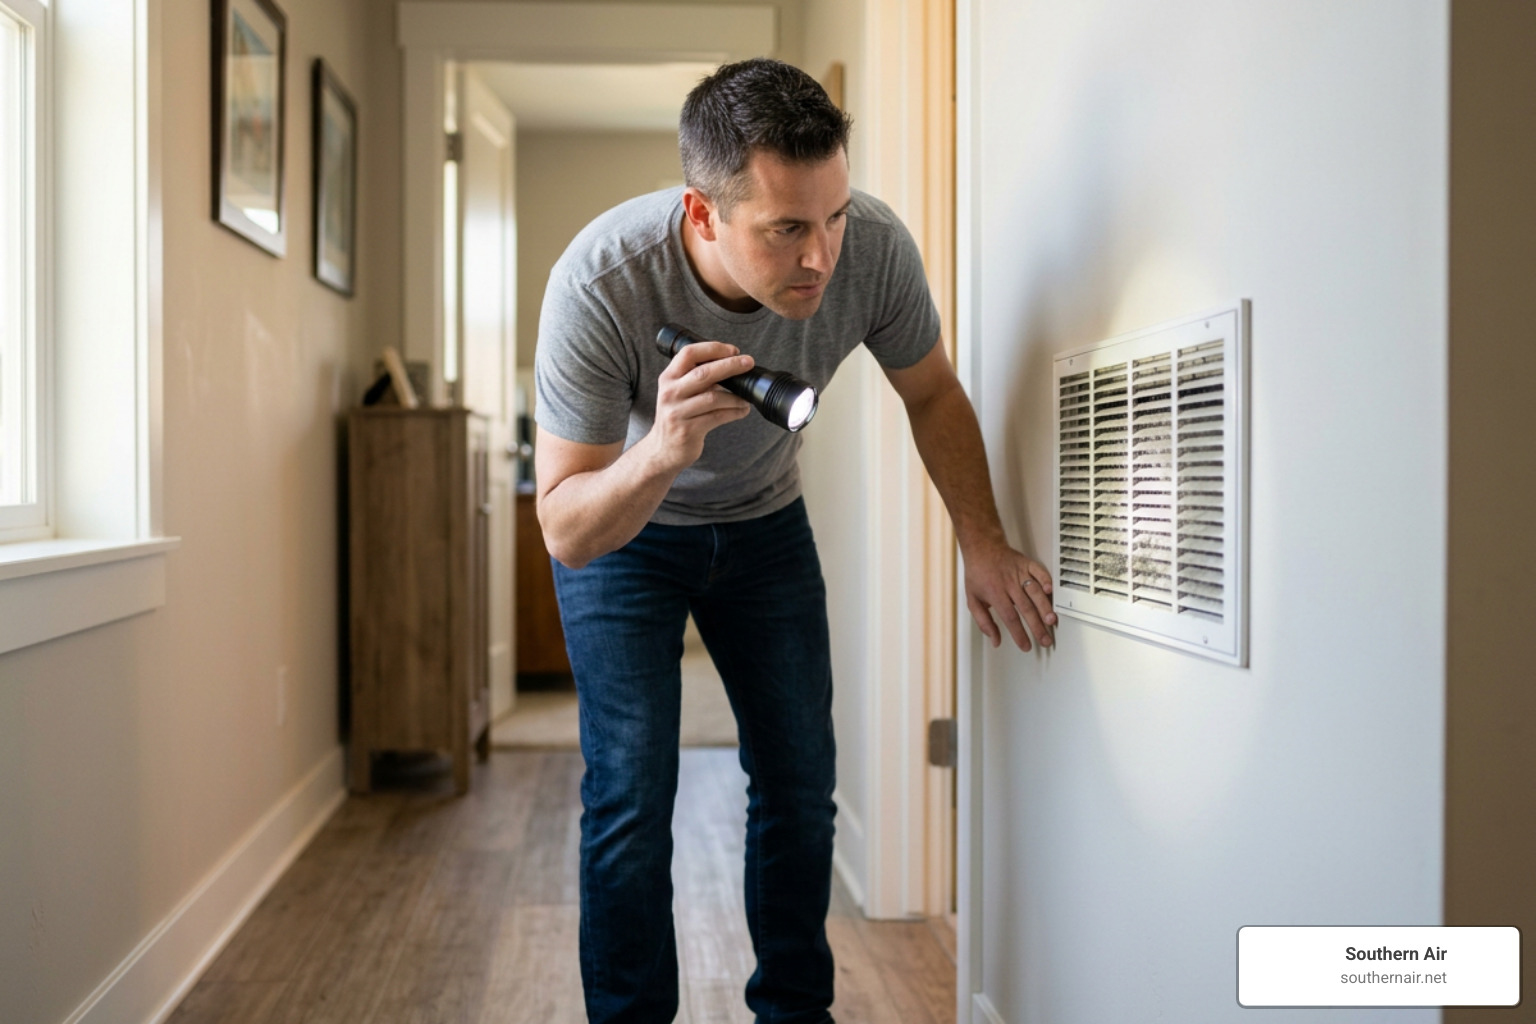
- Dusty Vents and Surfaces: If you notice a sudden buildup of dust around your supply registers or find yourself dusting your furniture far more often than usual, your ducts might have a hole. Leaky return ducts can pull dusty attic or crawl space air directly into your system, circulating it throughout your living space.
- Uneven Temperatures: Do you have one bedroom that feels like a sauna while the rest of the house is freezing? When conditioned air escapes through holes, the rooms furthest from your air handler suffer from reduced airflow and uneven temperatures.
- Moldy Odors: Musty smells coming from your vents often indicate that humid air from unconditioned areas of your home is being pulled into the ductwork, creating a breeding ground for mold and mildew.
- Pest Infestations: Rodents and insects love the warmth and airflow of HVAC systems. If pests chew their way into your flexible ducts, they leave behind droppings, nesting materials, and large holes.
- Unexplained Utility Spikes: If your energy bills are creeping up but your usage habits have not changed, your HVAC system is likely running longer to compensate for the 30% of conditioned air escaping through leaks.
Understanding the primary causes of these leaks can help you prevent them in the future. In North Florida, our intense humidity and temperature fluctuations cause duct materials to expand and contract, which weakens seals and joints over time.
Additionally, older homes often suffer from simple age and corrosion. While sheet metal ducts can last 20 to 70 years, flexible ducts typically have a lifespan of only about 10 years. If your home has flexible ductwork approaching the 15 year mark, the materials are likely breaking down, making them highly susceptible to tears from pests, routine home maintenance, or sagging joints. If you are dealing with sagging or loose connections, learning how to fix ductwork in 5 simple steps is a great starting point to get your system back in alignment.
Choosing Your Materials: Foil Tape, Mastic, and Sheet Metal
When it comes to learning how to repair holes in ductwork, using the right materials is the difference between a fix that lasts a decade and one that falls apart in a few weeks.
There are three primary materials used to seal and repair HVAC ducts:
- UL 181-Rated Foil Tape: This is not your standard silver duct tape. UL 181 foil tape is engineered specifically for HVAC systems. It features an acrylic adhesive that can withstand extreme temperature swings without drying out, cracking, or losing its grip. It is ideal for sealing small punctures, seams, and joints.
- Mastic Sealant: Mastic is a thick, paste-like adhesive that is widely considered the gold standard for duct sealing. It creates a flexible, permanent, and moisture-resistant barrier. For gaps larger than 1/4 inch, mastic must be paired with fiberglass mesh tape to provide structural support.
- Sheet Metal Patches: For large gaping holes in rigid metal ducts, a physical patch is required. You cannot simply bridge a massive hole with tape or mastic alone. A piece of galvanized sheet metal, mechanically fastened with screws and sealed around the edges with mastic, provides a permanent, structural repair.
| Material | Best Used For | Durability | DIY Difficulty |
|---|---|---|---|
| UL 181 Foil Tape | Small punctures, seams, and tight joints | Moderate (10+ years if applied correctly) | Very Easy |
| Mastic Sealant | Gaps, joints, and reinforcing tape repairs | High (Permanent, flexible barrier) | Easy (But messy) |
| Sheet Metal Patch | Holes larger than 3/4 inch in rigid ducts | Very High (Lifetime of the duct) | Moderate |
Standard cloth-backed duct tape is completely unsuitable for HVAC duct repairs. The rubber-based adhesive on standard duct tape degrades rapidly when exposed to the heat cycles of your heating system and the damp, humid conditions of North Florida crawl spaces. Within 12 to 18 months, the adhesive crystallizes, crumbles, and the tape peels away entirely.
Materials Needed for How to Repair Holes in Ductwork
Before you head into your attic or crawl space, gather all your tools and materials to avoid making multiple trips.
Here is your essential checklist:
- UL 181-rated aluminum foil tape
- Fiber-reinforced mastic sealant
- Fiberglass mesh tape
- A piece of galvanized sheet metal (or a salvaged coffee can as a clever DIY alternative)
- Tin snips (for cutting metal patches)
- Short sheet metal screws (pan head or hex head)
- A cordless drill with a driver bit
- A stiff-bristled brush or disposable paintbrush (for applying mastic)
- Heavy-duty safety gloves and safety goggles
- A damp cloth or rag for cleaning the duct surface
Using proper safety gear is essential. Sheet metal edges are razor-sharp, and attics can contain fiberglass insulation fibers that irritate your skin, eyes, and lungs. If you plan to seal ducts with mastic, having a detailed, step-by-step methodology ensures you get a clean, professional-grade seal.
Step-by-Step Guide: How to Repair Holes in Ductwork
Now that you have gathered your materials, it is time to perform the repair. Always prioritize safety and preparation before diving in.
Step 1: Power Down the HVAC System
Never work on active ductwork. Turn off your heating and cooling system at the thermostat, and shut off the corresponding breakers at your electrical panel. This prevents the system from blowing air while you are trying to seal leaks, and it protects you from moving parts inside the air handler.
Step 2: Locate and Prepare the Area
Locate the hole using a bright flashlight. Once found, use a damp cloth or a wire brush to clean a 3-inch perimeter around the opening. Dust, rust, and oil will prevent tapes and mastics from adhering. Let the surface dry completely before applying any sealants.
Step 3: Repair Based on Hole Size and Duct Type
- Small Holes (Under 2 Inches) in Rigid Metal: Apply a thin layer of mastic sealant over the hole. Cut a piece of UL 181 foil tape that overlaps the hole by at least 1 inch on all sides. Press the tape firmly into the wet mastic, smoothing out any air bubbles with a plastic squeegee or your gloved hand.
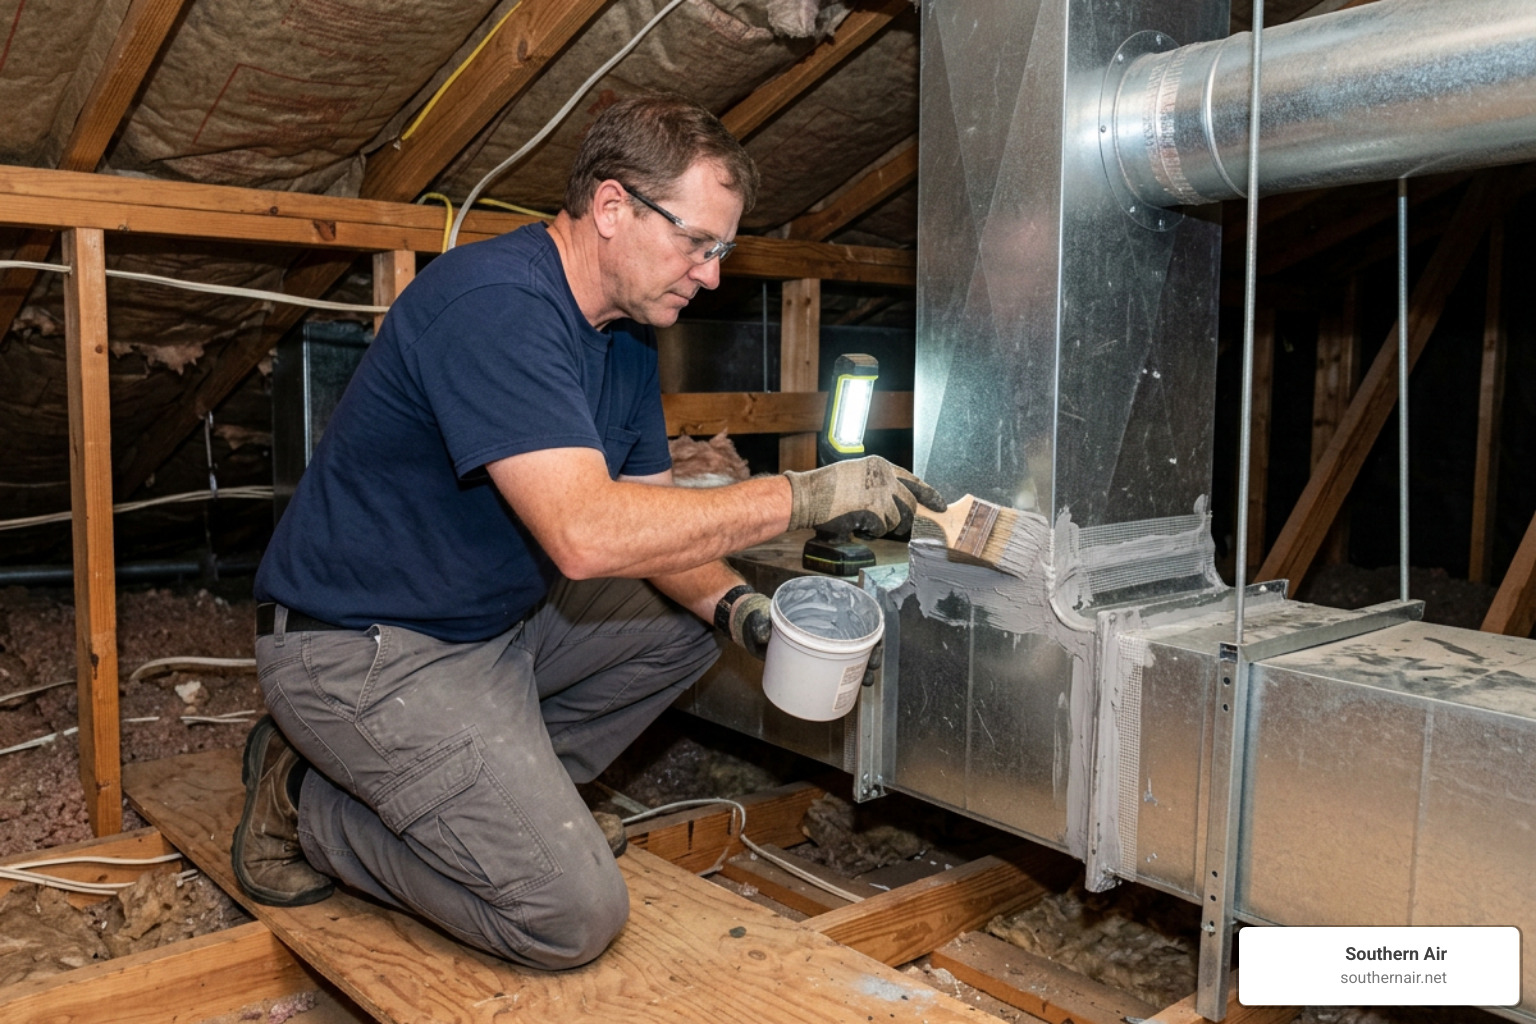
- Large Holes (Over 3/4 Inch) in Rigid Metal: For larger breaches, you must use a mechanical patch. Cut a sheet metal patch that is 2 inches larger than the hole on all sides. Apply a bead of mastic around the perimeter of the hole, press the patch into the mastic, and secure it with sheet metal screws spaced every 2 to 3 inches. Cover the entire perimeter of the patch with another layer of mastic and fiberglass mesh tape.
- Tears in Flexible Ductwork: Flexible ducts require a delicate touch to avoid crushing the inner wire coil. For small tears, wrap UL 181 tape entirely around the circumference of the duct, overlapping the edges. For larger tears, apply mastic over the tear, embed fiberglass mesh tape into the wet mastic, apply a second layer of mastic, and finish by wrapping it securely with foil tape.
Understanding the science behind these methods, such as how advanced air duct sealing technology keeps your home comfortable, can help you appreciate why these steps are so critical for long-term efficiency.
DIY Methods for How to Repair Holes in Ductwork
If you are tackling a rigid metal duct repair and do not have a sheet of galvanized metal on hand, you can use a clean, salvaged metal coffee can. Use your tin snips to cut the can open, flatten it out, and shape a custom patch.
When fastening any metal patch, always use short sheet metal screws, usually 1/2 inch in length. If you use screws that are too long, they will protrude deep into the duct interior, catching hair, dust, and debris over time, which can eventually restrict airflow.
Always allow the mastic sealant to cure completely before turning your HVAC system back on. Most mastics require 24 to 48 hours to fully cure, depending on the humidity levels in your crawl space or attic. Running the system too early can blow the wet sealant out of the gaps, ruining your hard work.
DIY vs. Professional Duct Repair: Costs and When to Call
Tackling a minor duct repair yourself is highly cost-effective. A basic DIY repair kit, including a roll of UL 181 tape, a tub of mastic, fiberglass mesh, and a brush, will generally cost under $30. When you consider that sealing a single moderate leak can save you $200 to $400 annually on your energy bills, the payback period is practically immediate.
However, DIY repairs have their limits. You should call a professional HVAC team if you encounter any of the following scenarios:
- Inaccessible Ducts: If your leaking ducts are buried behind drywall, located deep within tight crawl spaces with less than 24 inches of clearance, or hidden in hard-to-reach attic corners, trying to access them yourself can be dangerous and cause structural damage to your home.
- Widespread Mold or Moisture: If you discover standing water inside your ducts or visible mold growth, simple patching is not enough. You need professional mold remediation and duct sanitizing.
- Widespread Pest Damage: If rodents have chewed through multiple sections of your flexible ductwork, patching individual holes is a losing battle. The structural integrity of the runs is compromised, and the ducts must be replaced.
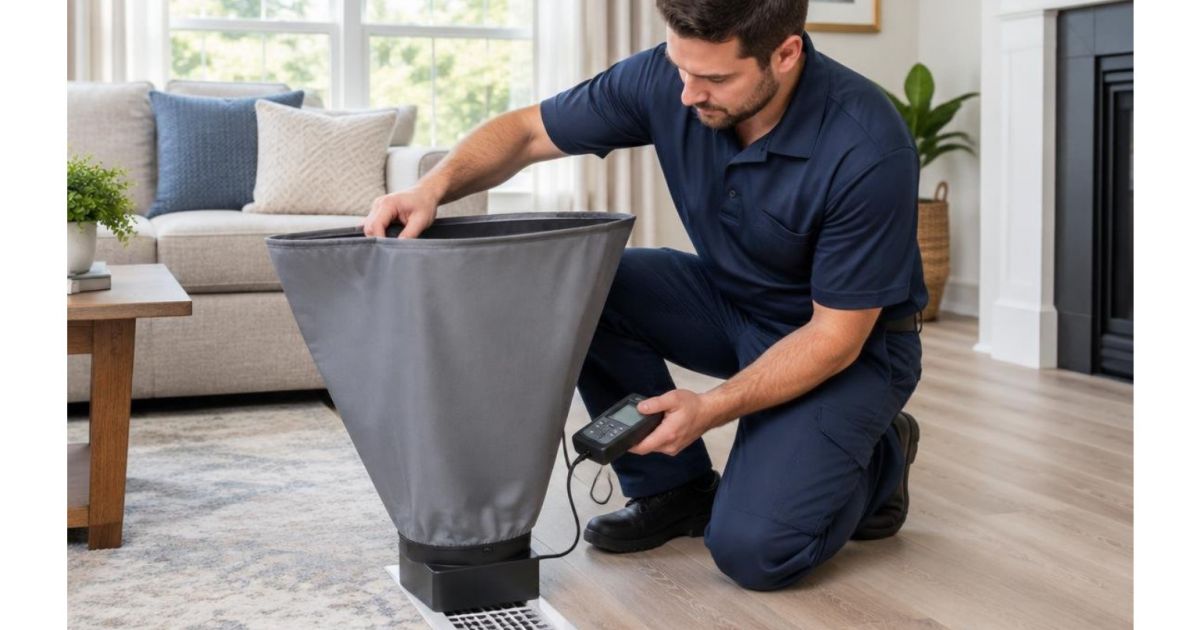
- System Age: If your ductwork is approaching its 15 to 20 year lifespan, the joints and seals are likely failing throughout the entire home. A professional can run a duct leakage test to determine if a full duct replacement is a smarter investment than piecemeal repairs.
For homeowners in Crescent City, FL, specialized assistance is just a phone call away through duct repair Crescent City. Similarly, if you live in East Palatka, FL, you can connect with local experts at duct repair East Palatka to evaluate and seal your system.
If your ducts are dirty, dusty, or have been compromised by pests, it is highly recommended to schedule thorough duct cleaning services before sealing the holes. This ensures you do not trap dust and contaminants inside your newly sealed system. If you are ready to bring in the experts, you can contact Southern Air Cooling & Heating to schedule a professional duct inspection and pressure test.
Frequently Asked Questions about Duct Repair
Can I use regular duct tape to repair holes in ductwork?
No. Despite its misleading name, standard cloth-backed duct tape should never be used on HVAC ductwork. The rubber-based adhesive cannot handle the extreme temperature swings of your heating and cooling system. Over time, the heat dries out the adhesive, causing the tape to become brittle, lose its grip, and peel away. Always use UL 181-rated aluminum foil tape or mastic sealant for a long-lasting, code-compliant repair.
How does repairing ductwork improve indoor air quality?
When your ducts have holes, they do not just let conditioned air escape, they also pull unconditioned air in. If a return duct has a leak in a dusty attic or a damp crawl space, it sucks in dust, mold spores, insulation fibers, pest dander, and humidity, blowing them directly into your living areas. Sealing these holes keeps contaminants out of your breathing air and significantly boosts your overall air conditioning efficiency.
When should I replace my ductwork instead of repairing it?
You should consider replacing your ductwork instead of repairing it if the damage is extensive, such as crushed runs, rusted-out metal, or widespread mold. Additionally, flexible ducts have a natural lifespan of about 10 years, while rigid systems show major signs of wear around the 15-year mark. If your system is old and riddled with multiple leaks, replacing the damaged sections will deliver much better airflow and energy savings than trying to patch dozens of tiny holes.
Conclusion
Learning how to repair holes in ductwork is one of the most effective ways to lower your energy bills, improve your indoor air quality, and restore comfort to every room in your home. While small, accessible punctures are great candidates for a weekend DIY project, complex leaks in tight spaces deserve professional attention.
At Southern Air Cooling & Heating, we bring 43+ years of family-owned excellence and 5-star service to homeowners in Palatka, FL, and our surrounding North Florida communities. Whether you need a quick repair, a comprehensive duct cleaning, or a complete system replacement, our team is here to help. Join our priority Comfort Club to keep your heating and cooling systems running at peak efficiency year-round.
Ready to stop throwing money out of your leaking ducts? Contact us today to learn more about our professional ductwork services and schedule your home comfort consultation!
Request Service
Please fill out the form below to request an estimate or schedule service.
"*" indicates required fields